Psp9
Supplies 
Unzip tubesfor psp
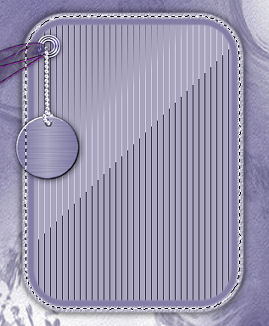
The Image " below you can use as "pointer" so you know
how far you are

Layers - New layer 600x400
Activate background-image "relax back"
copy - paste as new layer
Activate tube "Board" - copy - paste as new layer
Placer den ude til højre (se færdigt billede)
Aktiver tuben "relax acc" - copy og paste as new layer
Place it at the edge of your "board"
Activate and click your Magic wand inside the board in the dark area
set Magic wand mode for "shift"

magic wand and keep clicking to select like here
activate one of the small background images from the supplies
edit - copy
paste into selected frame
Select none
Activate the tube"hmo_box" - copy - paste as new layer
place it to the left beside the board (see finished image)
Activate tube "rainbow text" - copy paste as new layer
place it on your board
Activate the tube "image31" - copy and paste as new layer
and place above the text
in your layers - dublicate - image - flip - set it right
Click the"box" - go to your layers - rightclick
- "arrange" - "bring to top"
Activate the other "brushes" and place them -
it's up to you if you want to add a drop shadow
Activate the tube "relax woman" - copy and paste as new
layer
Activate the tube "relax eye" and place it up to the right
Your image schoul look almost like this now

Activate the tube "buttons" and place it over to the right
Add drop shadow
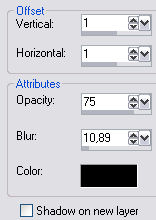
Image - add borders
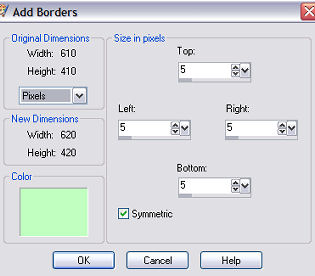
the green color is just to make sure you don't find a matching color
set forground color #d6d4dd
and background #9a96b6
make a gradient with these settings
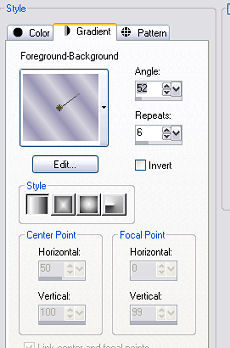
magic wand in the green "border" and floodfil gradient
add drop shadow - same as earlier- ALSO with minus in horizontal and
vertical
Activate the 2 tubes of the butterfly
copy - paste as new layer ant set them on top of each other

Lock one of the layers
Copy merged
Open AS
paste as new animation
Back to psp - lock the layer and unlock the next
Copy merged
back to AS - paste after selected frame
Edit - select all -Animation - frame properties - set the number to
25
Now you're done
I hope you liked this tutorial
Hanne